Surface roughness values in 3D printing
Important quality factor for functionality & appearance of the parts
Surface roughness is a critical factor affecting the quality and functionality of 3D printed parts. It refers to small deviations or irregular patterns on the surface of an object, which can affect its aesthetic appearance but also its functionality. The surface roughness values can vary greatly depending on the 3D printing process used, the material and other process parameters. Understanding and controlling surface roughness values is critical to producing high quality parts with consistent and reliable quality. In the following, we will give you an overview of the topic.
Basics about surface roughness values in 3D printing
In 3D printing, surface roughness values are usually measured in micrometers (µm) and can range from less than 1 µm to over 100 µm. The desired value for the surface roughness depends on the intended use of the 3D printed part. In applications where optical accuracy is important, such as the production of lens elements or transparent covers, a smooth surface with low roughness values is required. In contrast, a coarser surface with higher roughness values may be desirable for applications where good grip is important, such as tools or other objects that require a strong handle.
Surface roughness values are influenced by various factors in 3D printing. For example, material properties, including melting temperature, viscosity, or thermal conductivity, can have significant effects on surface roughness values. Process parameters such as layer height, extrusion temperature or laser power also play an important role here. Post-processing techniques such as vibratory grinding, coloring or chemical smoothing can also improve the surface roughness values of 3D printed parts after printing.

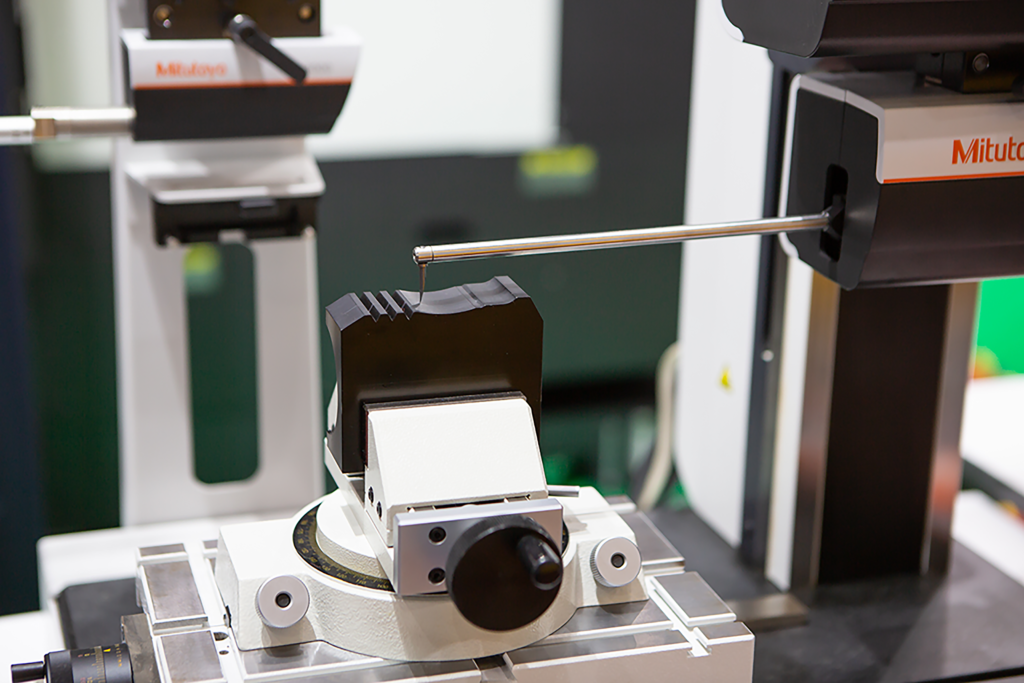
How is the surface roughness measured?
The surface roughness of parts is measured using so-called roughness indicators, namely the arithmetic mean roughness value and the average roughness depth.
The arithmetic center roughness Ra is calculated by determining the average of the absolute deviations of the surface profile from its centerline within a given sample length. In simpler terms, this determines the unevenness of a surface by measuring the differences in height of the surface to a reference line and taking the average of these differences. However, Ra can neither distinguish between peaks and grooves nor recognize different profile shapes. Its definition is based on strong averaging, which is why the values have little scatter and are easily reproducible.
Ra is not to be confused with the average roughness depth Rz. This is calculated by measuring the distance between the highest peak and the lowest valley within five sample lengths along the surface profile and then averaging this measurement. Rz thus reacts more sensitively overall to changes in surface structures than Ra.
Due to the different determination of the two key figures, it is not possible to convert them directly. However, greatly simplified, the following formula can be assumed: Rz = 7 * Ra.
For the Selective Laser Sintering (SLS) and Multi Jet Fusion (MJF) processes, the Technical University of Munich determined the key figures on cubes produced in the two processes and obtained the following values:
| Ra (total) in µm | Rz (total) in µm | |
|---|---|---|
| SLS cube untreated | 11,99 | 63,46 |
| SLS cube trowalized | 7,03 | 40,65 |
| SLS cube trowalized & blasted | 4,75 | 28,54 |
| MJF cube untreated | 10,08 | 54,02 |
| MJF cube trowalized | 5,38 | 32,41 |
| MJF cube trowalized & blasted | 4,77 | 27,35 |
Surface roughness of our technologies
Regarding the 3D printing technologies we offer, MJF, SLS and Fused Deposition Modeling (FDM), it can be said that the surface roughness of HP MJF parts is generally the lowest, which is achieved by the special HP process, allowing extremely high-quality surfaces to be produced. The surface roughness of SLS parts is usually somewhat higher than that of HP MJF and is influenced here by factors such as the laser power, the scanning speed or the layer height. However, the SLS process can also be used to produce parts with a very good surface quality, which can be further improved by post-processing processes such as vibratory grinding or chemical smoothing. Parts manufactured using the FDM process have the highest surface roughness. Again, the roughness is influenced by several factors, such as the material used, the extrusion temperature, the layer height or the speed of the extruder.
In summary, surface roughness is a critical quality criteria in 3D printing that can have a significant impact on the appearance and functionality of 3D printed parts. Understanding and controlling surface roughness values is therefore critical to producing high-quality, reliable 3D printed parts.