3D PRINTING PROCESS
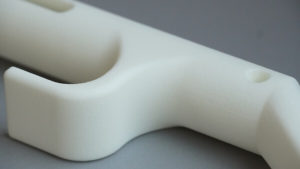
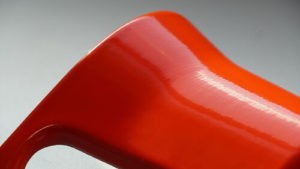
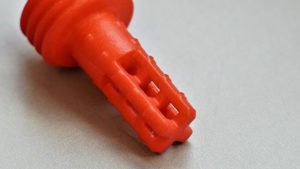
Selective laser sintering (SLS)
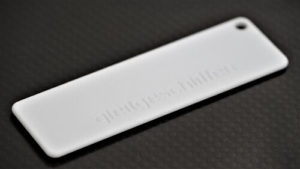
Selective laser sintering is ideally suited for the production of functional prototypes, high-quality functional parts and small batches made of plastic.
- Max. building space: 340 x 340 x 600 mm
- Accuracy: + -0.3mm (min. + -0.3%)
- Production time: 5-6 working days
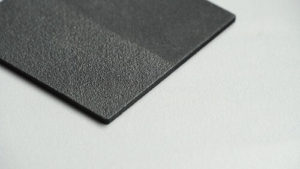
- Quality: very high
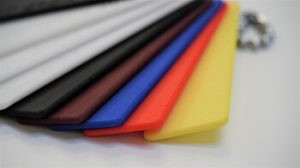
- Colors: standard and RAL colors
- Mechanical/Plant Engineering
- Automotive
- Consumer Goods